
Launch A Professional Website for less than $100

Content marketing has become more than just a catchy phrase. It creates opportunity. It drives traffic. It helps put you higher in the search engines. Blogging helps you carve out a name for yourself. It does require a time commitment, but the cost beyond that is virtually nothing beyond your web hosting plan, a domain, and a theme.
If you are just starting out I want to let you in on a little secret – we’ve all been there. If you find yourself browsing the web, clicking through blogs and wishing you had one of your own, then this tutorial is for you. I’m going to show you how to get set up for under $100, so you can walk away with a slick looking website of your own. Are you ready? Good. Let’s get to it.
Here is what you need
- A domain name = under $20
- A shared hosting plan = under $10 mo.
- A WordPress theme = under $50
Here is where to get it
- Visit Namecheap and pick up a domain.
- You can get a shared hosting plan at HostGator.
- Themeforest has a ton of great-looking themes.
I’ve given an approximation for what you should expect to pay in upfront costs to get your blog off the ground and running. Keep in mind that there are also an abundance of free WordPress themes available, but for this post I want to focus on getting a premium image for your blog – and since this tutorial is geared towards those new to blogging, I want to leave coding out of it. Having said that, let’s move on to the next step.
Choosing a domain name
Choosing a domain name will be one of the most important decisions you make for your website. You want a top level domain that reflects your brand. Including your keyword in your domain has some SEO benefits, so that’s something to consider as well. Yet another factor to consider is what usernames are available for the name you want to use. Branding is essential. You want to choose a name that hasn’t been taken already on sites like Facebook and Twitter. Social is a big part of the game these days and it’s important to have a cohesive brand image. You can easily check username availability across a ton of sites simultaneously by using either NameChk or Knowem.
Installing WordPress
For this example, I’m going to keep it simple and explain how to install WordPress with Fantastico. There are a number of other ways to install WordPress, but we’ll keep it simple for now.
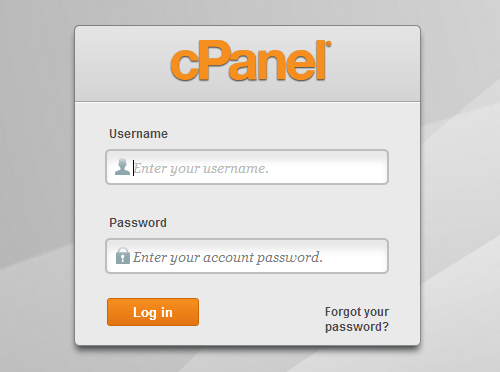
First, log into your shared hosting plan through cPanel.
Now that you are logged in, what you want to do is scroll down your screen until you see Fantastico.
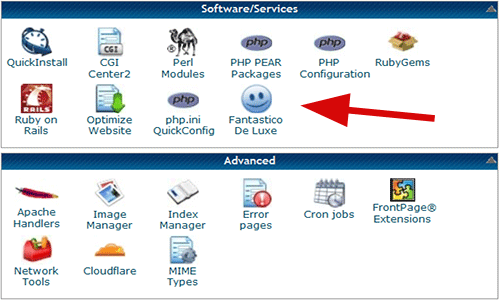
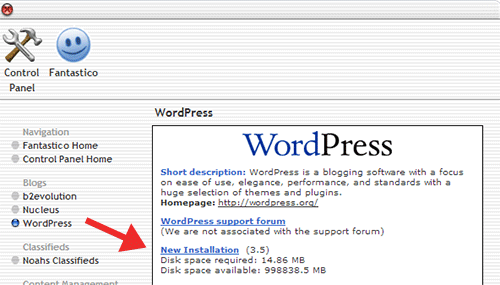
Once you have clicked on Fantastico you should see this screen below:
Simply select your domain from the drop down and fill out the information like the example below.
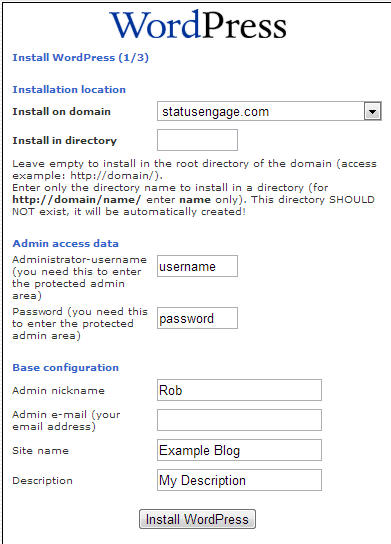
Click the ‘Finish Installation’ button and that’s it. You’ve just installed WordPress.

About The Author
Tony
Tony Miller helps small business owners, entrepreneurs and bloggers achieve their online goals through education and practical tips on making money online.
